


How to Clean Baseboards Effectively, Step by Step

Last Updated: November 3, 2026
Quick Summary
To clean baseboards effectively, first vacuum off loose dust with a brush and crevice tool, then wipe with a barely damp microfiber cloth from top to bottom. Dry the trim right away, since standing water can warp wood and soften joints.
Always remove loose dust before wiping, or it turns into muddy streaks.
Wring the cloth until it is barely damp, with no drips when squeezed.
Match stubborn-mark treatments to the mark type rather than scrubbing harder.
Use a soft toothbrush for corners and grooves, wiping dirt out with a dry cloth.
Dry each section within a minute; a baseboard that stays damp is over-wet.
Table of Contents
Dirty baseboards are easy to overlook and among the first things guests notice. Most homeowners tackle them once a year at best, letting dust, pet hair and scuffs build up along every wall. Learning how to clean baseboards effectively takes less time than most people expect. This guide walks through the process step by step, from dry dusting to stubborn marks, plus shortcuts for cleaning without bending or kneeling.
Why Baseboards Get Dirty and What Cleaning Them Really Takes
Baseboards collect dirt because they sit at floor level, where dust settles, vacuums miss, and shoes, pets and mop buckets bump into them.
The real work is not scrubbing. It is removing loose debris first, then using a light touch with the right amount of moisture. Most jobs go wrong when people skip the dry step and push grime around with a soaked rag.
Dust settles fastest near doors, heating vents and high-traffic corners
Pet hair clings to the lower edge and the top ledge
Scuffs come from shoes, vacuums and furniture legs
What You Need: Cleaner, Cloths, and Tools
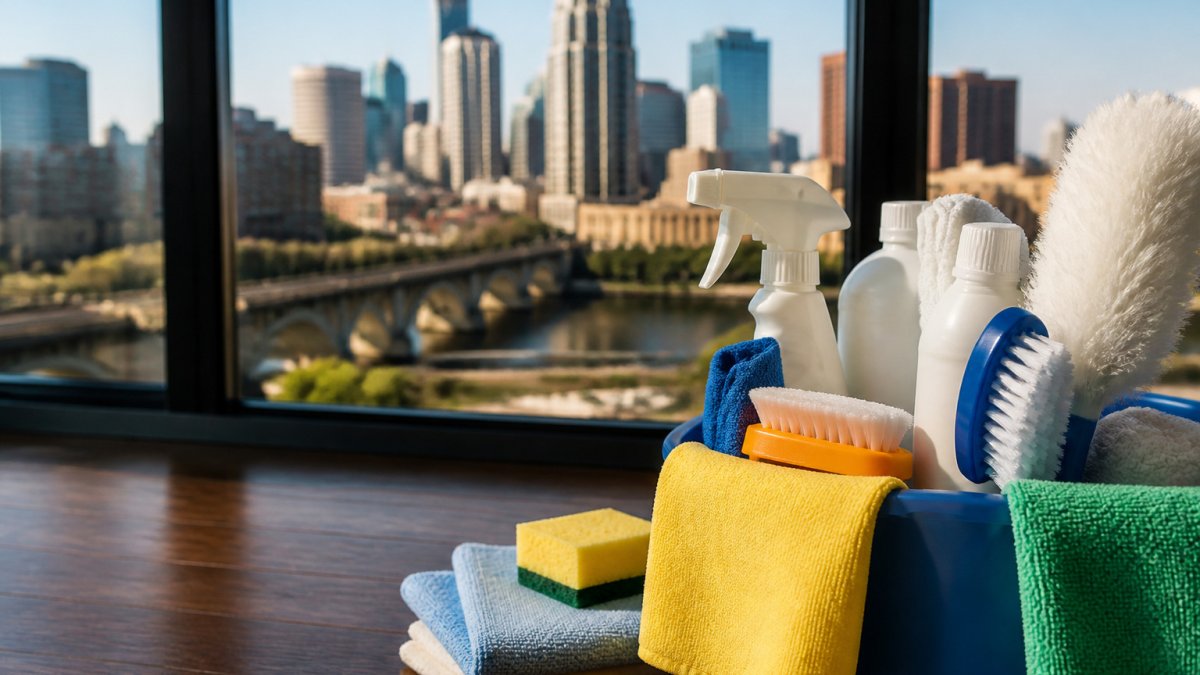
You do not need a full cleaning cabinet. A small kit handles most baseboards in a single room. We recommend keeping these items together so you can work through a room without stopping.
A vacuum with a brush or crevice attachment
Two or three microfiber cloths, one damp for wiping and one dry for buffing
A bucket of warm water
A mild cleaner is the safest starting point. Test any solution on a small hidden spot first, especially on painted, stained or unsealed wood, because some finishes react badly to harsh products.
How to Clean Baseboards Effectively in Five Steps
Work top to bottom and one room at a time. Starting at the top keeps falling dust off areas you already cleaned, and finishing a room prevents half-done trim from being re-soiled.

Step 1: Remove loose dust with a vacuum
Vacuum the top ledge and face of each baseboard with a brush attachment, then switch to the crevice tool along the joint where trim meets the floor and the top edge where it meets the wall.
Skipping this step is the most common reason baseboards look worse after cleaning. Wet cloths turn loose dust into muddy streaks that then have to be scrubbed off.
Step 2: Wipe with a damp cloth, not a saturated one
Dip a microfiber cloth in your cleaning solution and wring it until it is barely damp, no drips when you squeeze it.
A saturated cloth leaves streaks and pushes water into the base of the wall, which can damage paint and loosen trim over time.
Watch out: pooling water along the bottom edge can warp wood trim and soften joints.
Step 3: Treat stubborn marks by type, not by scrubbing harder
Most baseboards only need Steps 1 and 2. The rest usually have a specific problem, and matching the treatment to the mark saves time and finish.
Shoe scuffs and dark transfer marks. These are usually rubber or dye sitting on top of the paint film. Try a dry microfiber cloth first, many scuffs buff off without any liquid. If that fails, a small amount of mild dish soap on a damp cloth, rubbed in a short back-and-forth motion, usually lifts them. Avoid melamine sponges on painted trim; they are abrasive enough to dull the sheen.
Grease and cooking film near kitchens. Grease needs a surfactant, not more water. Use a slightly stronger dish soap dilution than you would elsewhere in the house, let it sit on the surface for a minute, then wipe and rinse with a clean damp cloth. Skip vinegar alone here, it does not cut grease well and can leave a streaky film.
Sticky residue from tape, labels, or adhesive hooks. Warm the residue with a cloth dipped in warm water and held against it for a few seconds, then work it loose with a soft cloth. On painted or laminate trim, avoid solvent adhesive removers, which can lift the finish; on sealed wood, test any remover on a hidden spot first.
For any of these, apply cleaner to the cloth rather than the trim, work a small area at a time, and stop if the finish starts to look dull or the color lifts onto the cloth.
Step 4: Clean the details and the adjacent trim
Run a soft toothbrush or detail brush along corners, grooves, and the joint where the baseboard meets door casings and shoe molding. Wipe the loosened dirt out with a dry cloth instead of pushing it back into the groove. Clean door casings in the same pass rather than coming back later.
Step 5: Dry, buff, and reset the room
Finish each section with a clean, dry microfiber cloth and buff the face and top ledge, paying attention to the seam at the floor and the joints at casings, where moisture hides longest. Put the vacuum and cloths away with the room finished so the job does not get abandoned half-done.
The five steps, with the time or focus each one needs, are summarised below.
Step | What to do | Focus |
1. Remove loose dust | Vacuum with brush and crevice tool | Dry, before any liquid |
2. Wipe | Use a barely damp microfiber cloth, top to bottom | Rinse and wring cloth often |
3. Treat stubborn marks | Match the treatment to the mark type | Avoid scrubbing harder |
4. Clean details | Soft toothbrush on corners and grooves | Wipe loosened dirt out with dry cloth |
5. Dry and buff | Finish with a clean, dry microfiber cloth | Dry to the touch within a minute |
How to Clean Baseboards with Vinegar Without Damaging the Finish
White vinegar is a popular choice because it cuts through light grime and leaves little residue. Many homeowners use a diluted solution of equal parts water and vinegar for routine cleaning.
Vinegar is acidic, so it is not a good fit for every surface. Use it on sealed painted baseboards, but skip it on natural stone, unsealed wood, or any untested finish.
Dilute vinegar with water before using it
Test on a hidden section of baseboard first
Avoid strong pours that soak the trim
An Easy Way to Clean Baseboards Standing Up
Bending and kneeling are the hardest parts of this job.
Attach a microfiber pad or a damp cloth to a dust mop or long-handled sponge and work along the wall in steady strokes.
Keep a small spray bottle nearby to refresh the pad quickly. Standing cleaning is slower on very dirty walls but far more comfortable for regular upkeep.
Cleaning by Baseboard Material, Corners, and Grooves
Most baseboard damage happens because the same cloth and cleaner get used on every surface. Painted trim, stained wood, MDF, and laminate each tolerate moisture and chemicals differently, so match the method to the material. If unsure what you have, check an inconspicuous end of the run near a door casing or closet, the cut edge usually reveals whether the core is solid wood, composite, or a vinyl wrap.
Painted baseboards (wood or MDF core)
Painted trim is the most forgiving surface, but the paint film is thin and dulls with abrasion. Use a microfiber cloth wrung to barely damp with a mild dish soap solution, a few drops in a quart of warm water is enough.
Watch out: paint over MDF is the highest-risk combination in the house. Water that sits in the joint where the baseboard meets the floor wicks into the composite core, and the trim swells and splits along the bottom edge.
Stained and sealed wood
Sealed wood trim handles a barely damp cloth, but unsealed or oiled wood does not. On sealed wood, use the least moisture that removes the dirt and buff dry within a minute or two. On unsealed wood, skip the wet wipe for routine dusting and use a dry microfiber cloth or vacuum brush; for sticky spots, put a small amount of cleaner on the cloth, never on the trim, and dry immediately.
MDF and composite trim
MDF is pressed wood fiber, and its enemy is standing water at cut edges and joints. Keep the cloth as dry as you can while still picking up grime, work in short sections, and follow immediately with a dry cloth. Never spray cleaner directly onto MDF; spray the cloth so liquid does not run down the face and pool at the floor line.
Laminate and vinyl-wrapped trim
Laminate and vinyl wraps are moisture-resistant but sensitive to solvents and abrasion. Mild soap and water is sufficient; avoid acetone, adhesive removers, and anything labeled as a degreaser or stripper, which can cloud or lift the wrap. Wipe with the grain of any printed pattern and buff dry to prevent streaks.
Corners, grooves, and detailed profiles
Corners and profiled trim collect the most dirt because a flat cloth cannot reach into them. Use a soft toothbrush or small detail brush dipped in cleaner, work the crevice in short strokes, then wipe the loosened dirt out with a dry cloth rather than pushing it back in. On ridged or beaded profiles, run the brush along the groove, not across it, so residue does not pack into the recess.
Drying and residue prevention
Residue is the reason baseboards look dull a day after cleaning and attract dust faster the following week. Finish every section with a clean, dry microfiber cloth, a separate cloth from the one you cleaned with, and buff the face and the top ledge. If you used vinegar or a soap solution, follow with a cloth rinsed in plain water and wrung out, then dry.
Booking Professional Baseboard Cleaning in Your Home
If your baseboards need more time than you have, professional help is an option. Janicemariecleaningservices offers professional residential cleaning. For current prices or a quote, visit the Janicemariecleaningservices website.
Ongoing clients can book a recurring cleaning to keep the home on a regular schedule. To talk details, call 1-612-203-1686 for a free estimate.
Frequently Asked Questions
What is the best way to clean really dirty baseboards?
Start by vacuuming loose dust, then wipe with a damp microfiber cloth dipped in a mild dish soap solution. For stuck-on grime, let the cleaner sit for a minute or two before wiping, and use a soft nylon brush for grooves. Work in small sections and rinse the cloth often so you are moving dirt rather than spreading it. Test any cleaner on a hidden spot first, especially on painted or stained wood, to make sure the finish is not dulled or damaged. Dry the surface with a clean cloth to prevent residue and streaks.
Can you clean baseboards with a vacuum?
Yes. A vacuum with a brush attachment or a crevice tool is the fastest way to remove loose dust, pet hair, and debris along the baseboard and where it meets the floor. Vacuuming first matters because wiping dust with a wet cloth turns it into a gritty paste that can scratch the finish. Use the brush setting on delicate painted surfaces. Vacuuming removes loose dirt but does not lift grease or scuffs, so you will still need a damp cloth afterward for a complete clean.
How do you clean baseboards with vinegar?
Mix equal parts white vinegar and water in a spray bottle, spray lightly onto a microfiber cloth rather than the wall, and wipe the baseboard from top to bottom. Vinegar cuts grease and mineral buildup well, but it is acidic, so avoid using it on natural stone, unsealed wood, or waxed finishes. Always test a small hidden area first, and rinse with a plain damp cloth and dry it afterward to prevent a sticky film.
How can you clean baseboards without bending over?
Attach a microfiber cloth to a long-handled tool such as a flat mop or a wet/dry dust mop with a pivoting head, then wipe along the baseboard while standing. Use a damp cloth, not a dripping one, and switch to a fresh pad as it gets dirty. This method works well for dusting and light grime, while stubborn marks may still need hand cleaning on your knees or with a step stool.

Comments